Understanding the Steps Involved in the Installation Process
The installation of flooring tiles is a process that can transform any space into something beautiful and practical. Homeowners often choose tiled floors for their durability and easy maintenance. Knowing what to expect during the installation can help you prepare for the changes it will bring. This guide outlines each step, ensuring clarity and confidence as you plan your project.

Initial Assessment and Planning
The first step in getting new tile flooring is understanding your needs and preferences. Professional installers start by assessing the space to determine the best approach. They measure the area, consider traffic patterns, and check for existing damage or uneven surfaces. Selecting materials that suit your style and budget is also part of this planning phase.
Selecting Your Tile Flooring
Choosing the right type of flooring tile is crucial. You have options like ceramic, porcelain, and natural stone, each with unique characteristics. Ceramic tiles are versatile and cost-effective, while porcelain offers higher durability. Natural stone provides a timeless look but may require more maintenance. Discuss these options with experts to ensure you make an informed decision that fits your lifestyle.

Preparing the Space for Installation
A critical part of the tile flooring installation process involves preparing the space. This step includes removing old flooring, cleaning the substrate, and ensuring it is level. A smooth surface is essential for laying tiles evenly, preventing future issues such as cracking or loosening. Proper preparation sets the stage for a successful installation.
Laying Out the Tiles
Before permanently setting the tiles, a dry layout helps visualize the final result. Installers use this time to adjust placements, ensuring symmetry and minimizing cuts at borders. Precision in this stage guarantees that your floor will appear balanced and cohesive once completed.
Installing the Tiles
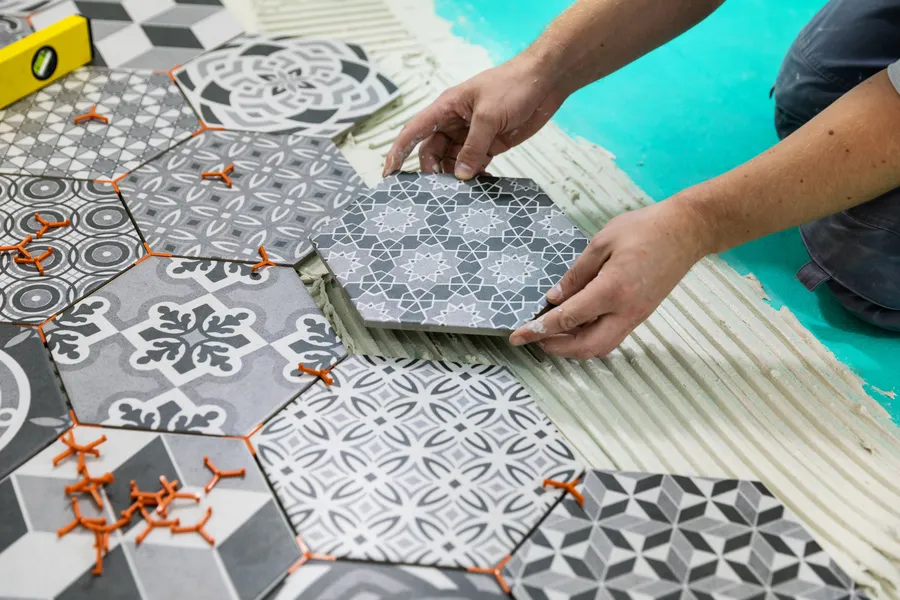
The actual installation begins with applying adhesive onto small sections of the floor at a time. Each tile is then carefully placed following the pre-established layout. Spacers maintain consistent gaps for grout lines, resulting in a neat pattern. Attention to detail during installation is key to achieving a professional finish.
Grouting and Cleaning Up
Once all tiles are set, grouting fills the spaces between them, providing stability and enhancing appearance. It protects tiles from moisture and dirt penetration. After grouting, thorough cleaning removes residue and ensures no haze affects the tiles’ shine. The floor should be left to cure completely before regular use.
Tips for Maintaining Your New Floor
- Sweep regularly to prevent scratches from debris.
- Mop with mild detergent to keep tiles looking fresh.
- Seal grout periodically to protect against stains.
- Address spills quickly to avoid permanent marks.
- Use felt pads under furniture legs to avoid damage.
Factors Influencing Cost
Several factors affect the cost of installing tile floors, including material choice, room size, and existing floor conditions. High-quality tiles might be pricier upfront but often offer longer-lasting results. Labor costs can vary based on location and installer experience. It’s important to balance budget considerations with desired outcomes for optimal satisfaction.
Ready to Transform Your Space?
If you’re considering upgrading your home with new flooring, reach out to Simply Floor Coverings for expert guidance. Our team specializes in delivering quality workmanship throughout Farmington, MI. Call us at (248) 756-3418 today to discuss your project requirements and schedule a consultation with our professionals.
